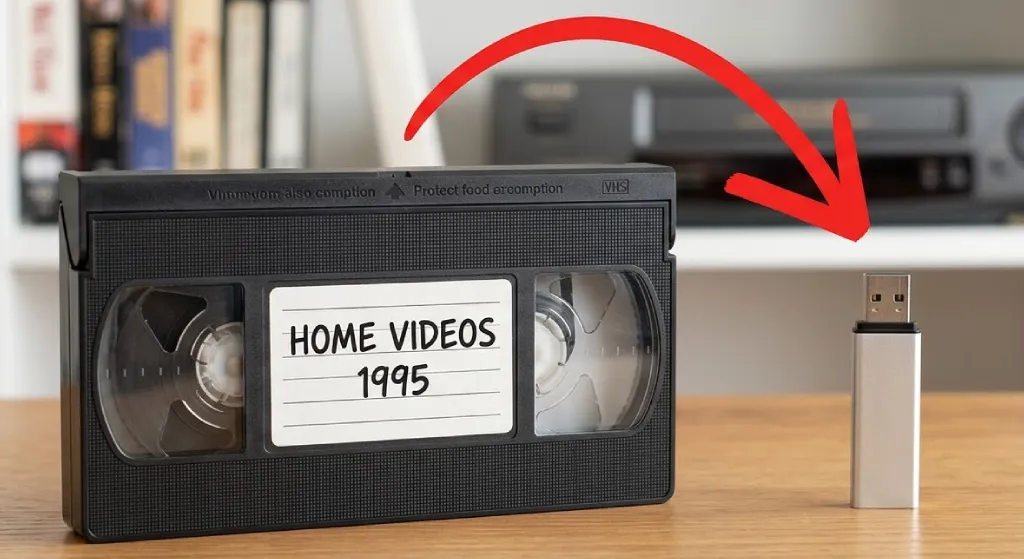
VHS to USB: how to transfer your tapes to a flash drive
If you’ve searched “VHS to USB,” you’re probably hoping there’s a cable or gadget that plugs your tape straight into a flash drive. There isn’t. But the process is simpler than you’d think once you know how it works.
Every method follows the same two steps: first you turn the tape into a digital video file, then you copy that file to a flash drive. The “how” of step one is where you get to choose.
We’ll walk through the three main ways to do it, cover a file-size problem that trips up almost everyone, and help you figure out which approach fits.
How VHS to USB actually works
There’s no device that reads a VHS tape and writes directly to a USB stick. VHS is analog. A flash drive stores digital files. Something has to convert between the two.
That something is a digitizer, a device or service that plays the tape and records the video as a digital file. Once you have the file, getting it onto a flash drive is just drag and drop.
When you see products marketed as “VHS to USB converters,” they’re really digitizers that save files to your computer (or sometimes directly to a USB drive). The tape still has to play in real time, and the video still gets recorded as a file first.
Option 1: DIY with a capture card
This is the most common DIY approach. You connect a VCR to your computer through a small USB capture device, and recording software saves the video as a file.
What you need
-
A working VCR (new ones haven’t been made since 2016, so you’re buying used for $50–$150)
-
A USB capture card like the Elgato Video Capture or DIGITNOW ($30–$90)
-
Free recording software. OBS and VLC both work.
-
A computer with enough storage space (budget 5–10 GB per tape)
How it works
Connect the VCR’s red, white, and yellow RCA cables to the capture card. Plug the capture card into your computer’s USB port. Open your recording software, put the tape in, press play, and hit record.
The tape plays in real time. A two-hour tape takes two hours to capture. There’s no way to speed it up.
When the tape finishes, stop the recording and save the file as MP4. Then just copy it to your flash drive.
The honest take
If you have 10 or more tapes and you’re comfortable connecting cables and installing software, the math works out. You’ll spend $100–$200 on equipment, and after that each tape just costs your time.
If you only have five or six tapes, though, you’ll probably spend more time setting up and troubleshooting than actually recording. For a small batch, a service is worth considering.
Option 2: A standalone converter
If you’d rather skip the computer, standalone converters let you record from a VCR directly to a USB drive or SD card.
Devices like the ClearClick Video to Digital 2.0 (~$160) have a small built-in screen so you can watch the recording as it happens. You plug in your VCR, insert a flash drive, and press record. No computer, no software.
You get less control over the recording quality compared to the computer setup, and the picture depends entirely on the device. For most family tapes, it looks perfectly fine. If you’re particular about getting the best possible capture, the computer approach gives you more to work with.
Option 3: Send your tapes to a service
If you don’t want to deal with any equipment, mail-in digitization services handle everything. You ship your tapes, they digitize them on professional gear, and send your files back on a USB drive or as a cloud download.
The quality is usually better than DIY. Professional services use commercial-grade playback decks that pull a cleaner signal from the tape, and many will also restore the picture, correcting faded colors and sharpening things up.
We do this at HDSHOT. We capture your tapes on professional equipment and restore the footage with HD processing. But we’re one option among several, and for some people DIY genuinely makes more sense. Pick whatever fits.
The file-size problem nobody warns you about
Most USB flash drives come formatted as FAT32. It’s an older file system that works with basically everything: Windows, Mac, TVs, game consoles. But it has one limitation that’ll bite you. It can’t store any single file larger than 4 GB.
A two-hour tape saved as an MP4 can easily run 4–8 GB. So you’ll finish your digitization work, drag the file to your flash drive, and get some vague error. It’ll look like the drive is broken or full, even though there’s plenty of space left.
The fix takes about 30 seconds. Reformat the drive to exFAT, which removes the file-size cap and still works on both Windows and Mac.
On Windows
-
Plug in the flash drive
-
Open File Explorer, right-click the drive, and select Format
-
Change the file system dropdown from FAT32 to exFAT
-
Click Start
On Mac
-
Plug in the flash drive
-
Open Disk Utility (search for it in Spotlight)
-
Select the drive in the sidebar
-
Click Erase, set the format to ExFAT, and click Erase
Reformatting erases everything on the drive. Use a blank drive, or move any existing files off first.
Which file format to use
When you save your digitized video, you’ll need to pick a format.
MP4 (H.264) is the right choice for almost everyone. It plays on every device and operating system. File sizes run about 1.5–5 GB per hour of video depending on quality settings.
AVI preserves more detail because it uses less compression, but the files are roughly 10 times larger. A two-hour tape could be 40–50 GB. Only worth it if you plan to edit the footage later in video editing software.
If you’re not sure, just use MP4.
Don’t stop at the flash drive
A USB drive is a great way to watch and share your videos. But it shouldn’t be your only copy.
Flash drives end up in junk drawers, go through the wash, or just stop working one day. If your only digital copy lives on a single flash drive, you’re one accident away from losing those videos all over again.
Keep at least two copies:
-
One on the flash drive for watching and sharing
-
One on a computer, external hard drive, or cloud storage
You went through the trouble of digitizing for a reason. Make a backup so the work isn’t wasted.
