How to convert Hi8 tapes to digital without a camcorder
Your Hi8 camcorder is gone. Maybe it broke. Maybe it’s in a box somewhere and you’re not sure it works. Either way, you’ve got tapes and no way to play them.
You don’t need the original camcorder. There are several ways to get those tapes into digital files, and some are simpler than you’d think. We’ll go through every option, what each one costs, and how to figure out which one fits your situation.
First, figure out what tapes you have
This part matters more than you’d expect. Hi8, Video8, and Digital8 tapes are all the same physical size. They look nearly identical. But they record video differently, and not every player handles every format.
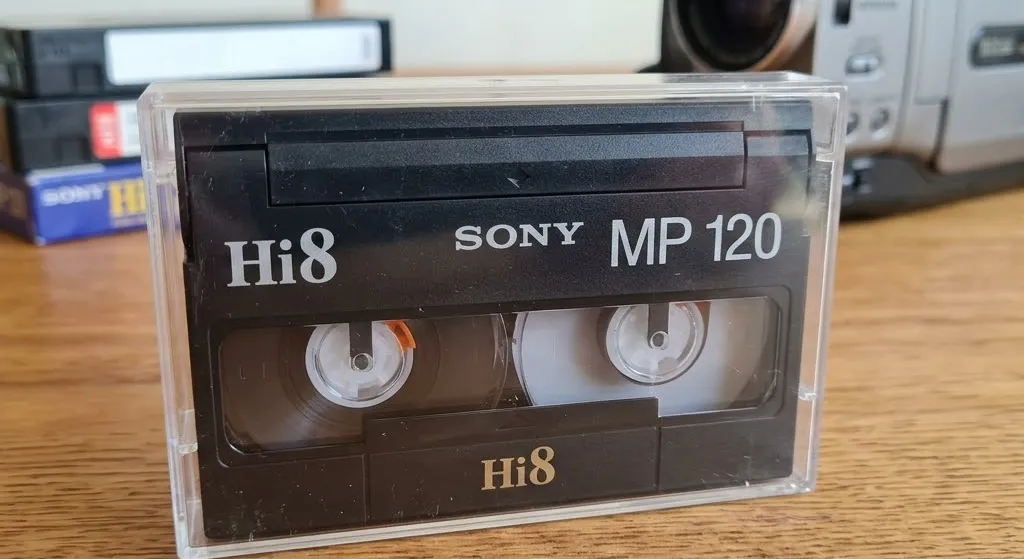
Check the label on your tape. It usually says “Hi8,” “Video8,” or “Digital8” somewhere on the cassette or the case. If there’s no label, look for markings from the manufacturer. Sony tapes often have the format printed along the top edge.
Getting this wrong means buying or renting equipment that won’t work with your tapes. A Hi8 deck plays Hi8 and Video8 but not Digital8. A Digital8 camcorder can sometimes play all three, but not always.
Option 1: Buy a standalone Hi8 deck
Sony made a few dedicated Hi8 video decks in the ’90s. The most common are the Sony EV-C100 and EV-C500. They look like small VCRs and do one thing: play 8mm-format tapes.
Where to find one: eBay is the main source. Specialty shops like Porter Electronics sell refurbished units with short warranties.
What they cost: $300 to $800 depending on condition. Refurbished units with a warranty run higher. “Untested” listings are cheaper but you might end up with a paperweight.
You also need a capture card. The deck outputs analog video through composite or S-Video cables. A USB capture device gets that signal into your computer. Budget options like the Digitnow or Diamond VC500 run $30 to $50. An Elgato Video Capture is around $80.
The honest take
This path makes sense if you have a lot of tapes and want to handle the project yourself over time. But you’re spending $400+ before you’ve converted a single tape, and used electronics can stop working without warning. If the deck dies halfway through, you’re starting over.
Option 2: Borrow or rent a camcorder
You might not need to buy anything. Plenty of Hi8 camcorders are collecting dust in closets right now. Ask family, friends, neighbors. Someone probably has one.
If that doesn’t work, try Facebook Marketplace, Craigslist, or local thrift stores. Working Hi8 camcorders show up regularly for $30 to $100.
You can also rent one online. A few specialty companies ship Hi8 camcorders for $50 to $150 for a week or two. That’s enough time to get through a decent stack of tapes.
You still need a capture card to connect the camcorder to your computer. Budget $30 to $50 for that.
The honest take
This is the cheapest DIY route. If you borrow a working camcorder for free, you’re looking at under $50 total for just the capture card. The problem is finding one that actually works well. Old camcorders have belts and motors that wear out, and a unit that powers on doesn’t always play tapes properly.
Option 3: Use a Digital8 camcorder
Most people don’t know about this one. Some Sony Digital8 camcorders can play back Hi8 and Video8 tapes, not just Digital8. Sony built backward compatibility into several models.
The advantage is the output. Digital8 camcorders have FireWire ports (also called i.LINK), which send a digital signal straight to your computer. No analog-to-digital conversion step. The picture quality is noticeably better than what you get running composite cables through a cheap USB capture card.
Where to find one: Same used market as everything else. eBay, Facebook Marketplace, thrift stores. Expect $100 to $300 for a working unit.
The catch: FireWire is old. Most modern computers don’t have FireWire ports. You’ll need a FireWire-to-USB adapter or a FireWire PCIe card for a desktop, which adds another $20 to $50. Macs dropped FireWire years ago, and you may need specific drivers on newer Windows machines too.
The honest take
If you can get the FireWire connection working, this gives you the best picture quality of any DIY method. But the technical setup can be frustrating on modern hardware. Good option if you’re comfortable troubleshooting old tech and want the best result without paying for a service.
Option 4: Send them to a professional service
If all the equipment hunting and cable troubleshooting sounds like more hassle than it’s worth, a professional service handles everything. You mail your tapes in, they play them on professional-grade decks, capture the footage, and send back digital files on a USB drive or download link.
What a good service does: Professional services use maintained, calibrated playback equipment that gets better results than a dusty camcorder from eBay. The good ones also run the signal through a time base corrector (TBC) to stabilize the picture before capture, so timing jitter and tearing don’t get baked into your files.
Typical cost: $15 to $40 per tape, depending on the format and the service.
What to watch for: Ask how they handle tapes. A good service will tell you what equipment they use and what happens if a tape is damaged. Be cautious of services charging under $10 per tape. The equipment needed to do this right isn’t cheap, and very low prices usually mean corners are being cut. And be skeptical of anything advertising AI enhancement — analog tape is standard definition, and software that promises HD from it is inventing detail that was never recorded.
The honest take
For most people, this is the right call. Someone else deals with the equipment and the troubleshooting. You get clean digital files back. At VHS+ we currently digitize VHS tapes with a professional capture chain — quality decks, a time base corrector, and Blackmagic capture hardware. Hi8 support is coming soon: you can join the waitlist and we’ll email you the moment it’s live.
Which option makes sense for you
It comes down to how many tapes you have, your budget, and how comfortable you are with old tech.
1 to 5 tapes: A professional service is almost certainly the better value. Buying equipment for a handful of tapes doesn’t add up.
10+ tapes and you’re tech-savvy: DIY starts to make financial sense at this scale. Borrow or rent a camcorder, grab a capture card, and set aside a weekend. Each tape plays back in real time, so budget your hours accordingly.
Tapes in rough shape: Go with a professional service. Damaged tapes need careful handling. Sticky oxide, mold, or a crinkled leader can destroy footage permanently if played on equipment that isn’t set up for it.
Best possible quality: Either use a Digital8 camcorder with FireWire output, or go with a professional service that captures through a time base corrector on calibrated decks. A cheap USB capture card through composite cables will work, but you’re leaving quality on the table.
Your tapes aren’t getting any younger
Hi8 tapes were built to last 15 to 30 years under good storage. Most tapes recorded in the ’90s are already past that window. The magnetic coating that holds your video is breaking down, and you won’t notice until you try to play a tape and the picture is full of static, the colors are off, or whole sections are gone.
Every year you wait, the tapes lose a little more. Whatever route you go, don’t put it off another year.
